In the realm of printing technology, the Canon Maxify series stands tall, renowned for its efficiency and reliability. However, even the most trusted devices can encounter occasional glitches, and the “Canon Maxify Printer Not Responding” issue is one such annoyance that users may face. In this comprehensive guide, we delve into the intricacies of this problem, exploring its potential causes and providing step-by-step solutions to restore your printer to its responsive state. Whether you’re a seasoned tech expert or a novice user, our meticulously crafted guide will empower you to overcome this challenge and reclaim your seamless printing experience. [- Troubleshooting Canon Maxify Printer Not Responding Issues: A Comprehensive Guide]
Canon Maxify Printer Not Responding: A Comprehensive Solution Guide
Are you frustrated because your Canon Maxify printer is unresponsive, hindering your important printing tasks? Don’t worry; this comprehensive guide will empower you with actionable solutions to resolve this issue swiftly and restore your printing productivity.
1. Power Cycle Your Printer:
- Disconnect the power cord from the printer and power outlet.
- Wait for a few minutes to allow the printer to completely power down.
- Reconnect the power cord and turn on the printer.
2. Check Connectivity:
- Ensure a stable connection between your printer and computer.
- Check the USB cable connecting the printer to the computer for any damage or loose connections.
- If wirelessly connected, verify that both devices are on the same network and signal strength is strong.
- Troubleshoot Wi-Fi connectivity issues by restarting the router and reconnecting the printer.
3. Restart Spooler Service:
- Press Windows key + R to open the Run dialog box, type “services.msc” and hit Enter.
- Locate “Print Spooler” service, right-click on it, and select “Restart.”
- If the service is not running, click “Start.”
4. Update Printer Drivers:
- Download the latest printer drivers from Canon’s official website.
- Run the downloaded driver installer and follow the on-screen instructions to complete the update.
- Restart your system to ensure the changes take effect.
5. Uninstall and Reinstall Printer Software:
- Go to Control Panel > Programs and Features.
- Select your Canon Maxify printer software and click “Uninstall.”
- Follow the uninstallation wizard to complete the process.
- Download the latest software from Canon’s website and reinstall it.
- Make sure to connect your printer during the installation process.
6. Reset Printer to Factory Settings:
- Locate the “Reset” button on your printer, usually on the control panel.
- Press and hold the “Reset” button for a few seconds until the printer restarts.
- This will restore the printer to its default settings.
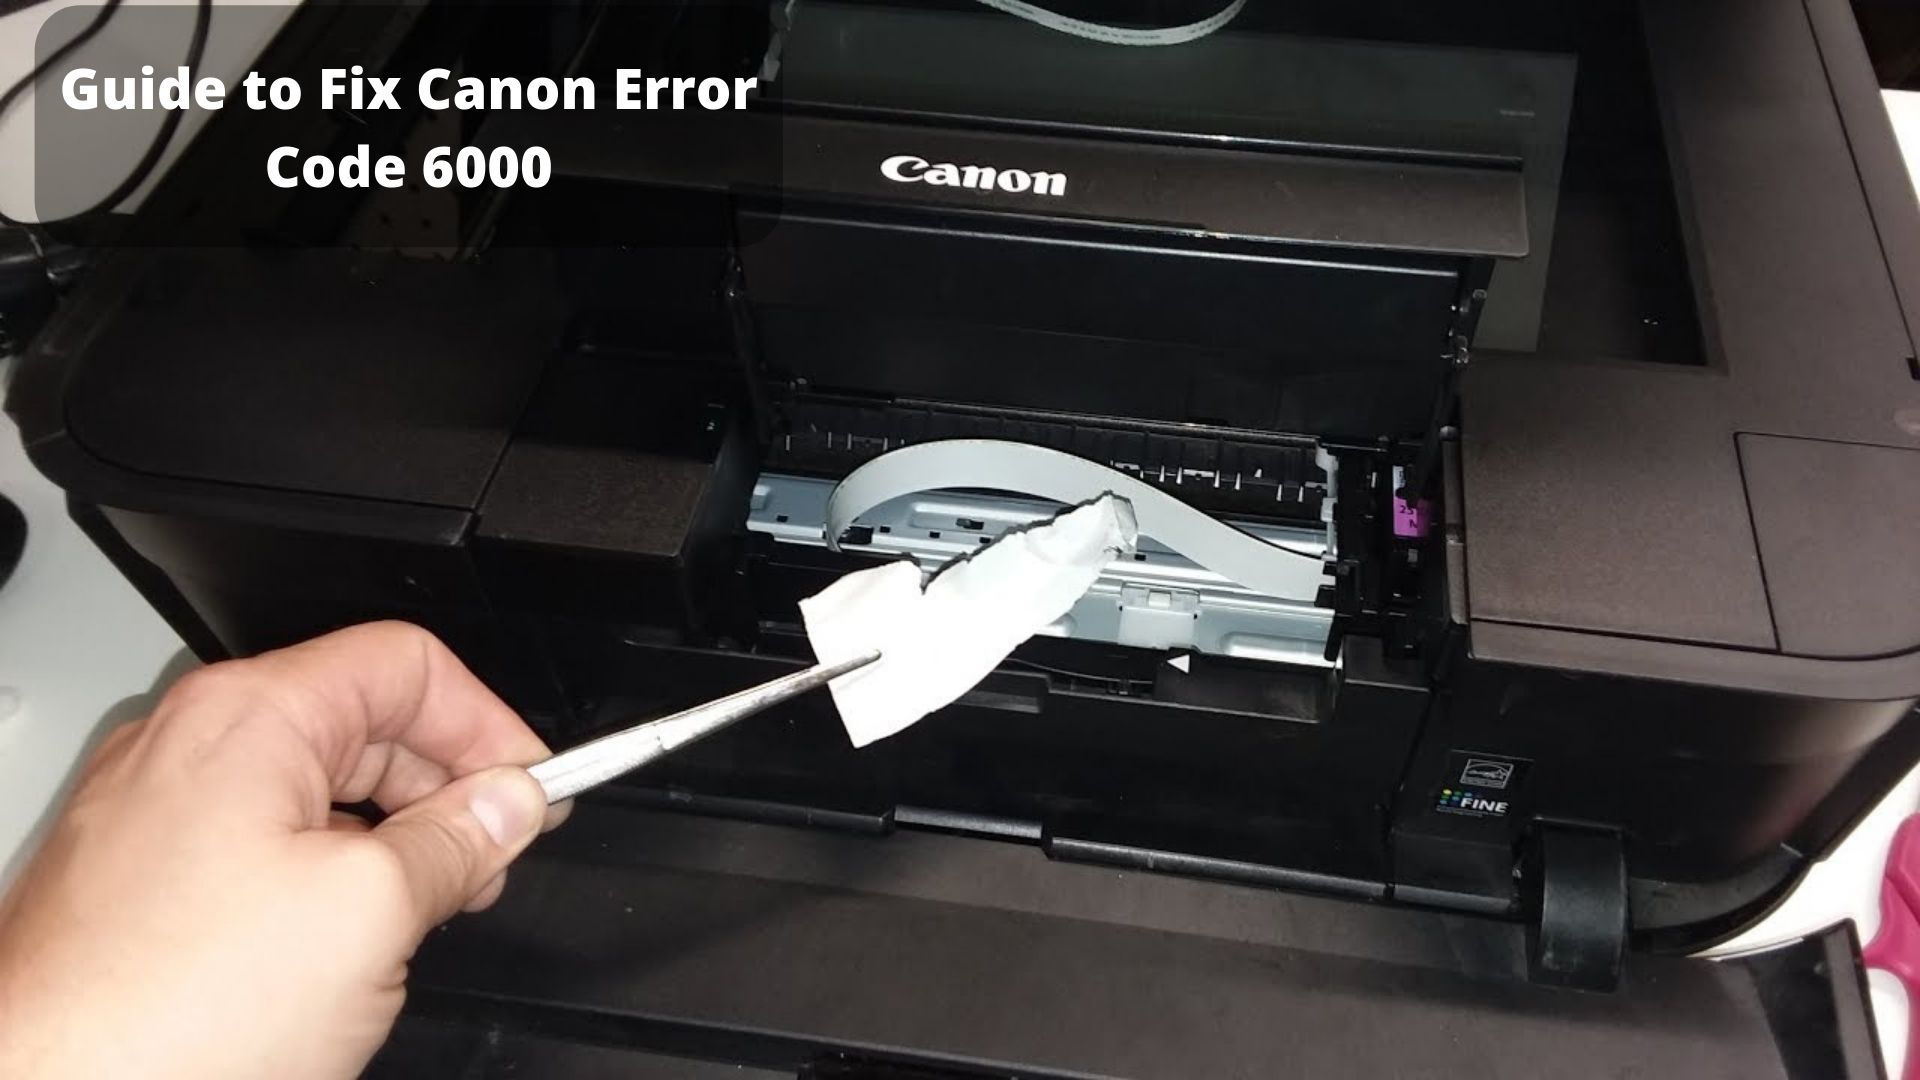
7. Check for Paper Jams:
- Carefully open the printer’s cover or access door.
- Inspect the paper tray and rollers for any jammed paper, debris, or foreign objects.
- Gently remove any obstructions found.
8. Clean the Print Head:
- Use the printer’s built-in print head cleaning utility, usually accessible through the printer’s control panel or software interface.
- Follow the instructions provided to complete the cleaning process.
Need Expert Assistance? For further assistance or if the issue persists, consider reaching out to Canon’s customer support or a qualified printer technician. They can provide specialized support and troubleshoot any underlying hardware or software problems.
Remember, resolving the Canon Maxify printer not responding issue often involves a combination of solutions tailored to the specific cause of the problem. By following these steps and utilizing troubleshooting resources, you’ll be able to diagnose and resolve the issue effectively, restoring your printer’s optimal performance. Canon Maxify MB2140 giving you trouble? Find solutions to your printing woes with just a click canon maxify mb2140 not printing.
Wondering which Canon Maxify printer is best for your needs? Our comprehensive comparison guides you through the features and specs of the entire lineup. canon maxify printers compared.
Configure your Canon Pixma MG2522 printer’s wireless connection effortlessly. We provide a step-by-step guide to help you set it up in no time! canon pixma mg2522 printer wireless setup
 ## **Updating Printer Drivers**
Whenever you’re facing issues with your Canon Maxify printer not responding, there are some simple steps to follow. Let’s delve into updating your printer drivers.
Key Takeaways:
- Ensure your printer is connected to your computer via USB or a stable Wi-Fi network.
- Locate the official website of Canon printers.
- Select the “Support” or “Drivers” section from the menu options.
- Specify your printer’s make and model.
- Find the latest driver version compatible with your operating system.
- Follow the on-screen instructions to download and install the update.
Steps to Update Printer Drivers:
Check Connection:
Ensure that your printer and computer are connected properly. If using a USB cable, confirm that it’s firmly plugged into both devices. If using Wi-Fi, make sure your printer is connected to the same network as your computer.
Locate Printer’s Website:
Browse to the official website of Canon printers. Typically, the URL is in the format: www.usa.canon.com or www.canon.com.
Find Support Section:
Once on the Canon website, look for the “Support” or “Drivers” section. This is often located in the main menu or a dedicated section for technical assistance.
Select Printer Model:
In the support section, specify your printer’s make and model. You can usually find this information on a sticker located on the back or bottom of your printer.
Locate Latest Driver:
Locate the latest driver version compatible with your operating system. Make sure to select the right one for your system, whether it’s Windows, Mac, Linux, or any other supported OS.
Download and Install:
Click the “Download” button to initiate the download process. Once the driver file is on your computer, run it and follow the on-screen instructions to complete the installation.
Restart Computer:
After the driver installation is complete, restart your computer. This ensures that the system recognizes the newly installed driver and applies the updates.
Reconnect Printer:
If you were using a USB connection, reconnect your printer to the computer using the USB cable. If using Wi-Fi, make sure the printer and computer are still connected to the same network.
Check Functionality:
Once everything is reconnected, try printing a test document. If the printer responds and prints successfully, you’ve successfully updated your printer’s drivers.
Remember, keeping your printer drivers up-to-date is crucial for optimal performance, bug fixes, and security enhancements. By following these steps, you can easily update your Canon Maxify printer drivers and resolve any issues related to its responsiveness.
Checking Hardware Connections
As we delve into the realm of troubleshooting Canon Maxify printer issues, it’s imperative to address the fundamental aspect of hardware connections. These connections serve as the vital lifelines between your printer and the external world, ensuring seamless communication and data transmission.
Key Takeaways:
- Ensuring proper hardware connections is crucial for optimal printer performance.
- Loose or damaged cables can disrupt communication between the printer and computer.
- Verify that all cables are securely plugged into their respective ports.
- Utilize high-quality cables to minimize signal interference and ensure reliable data transfer.
- Consider replacing faulty cables if necessary.
- If the issue persists, examine the ports for any damage or debris that may hinder proper connectivity.
Step-by-Step Guide to Checking Hardware Connections:
Inspect the Power Cable:
- Begin by scrutinizing the power cable for any visible signs of damage or fraying.
- Ensure that the power cable is firmly plugged into a functioning power outlet.
- Try connecting the printer to a different power outlet to rule out any electrical issues.
Examine the USB Cable:
- Disconnect and reconnect the USB cable at both ends, ensuring a secure connection.
- If possible, try using a different USB cable to eliminate the possibility of a faulty cable.
- Verify that the USB cable is compatible with your printer model and computer operating system.
Check Network Connectivity:
- If you’re using a wired network connection, inspect the Ethernet cable for damage or loose connections.
- Ensure that the Ethernet cable is properly plugged into the printer’s Ethernet port and the router or network switch.
- If utilizing a wireless connection, verify that the printer is connected to the correct Wi-Fi network.
Examine Ports and Connectors:
- Inspect the ports on both the printer and computer for any signs of damage or debris.
- Use a compressed air can to gently remove any dust or debris that may be obstructing the connections.
- If there’s visible damage to the ports, consider seeking professional assistance for repairs.
Test the Printer’s Functionality:
- Once you’ve thoroughly checked all hardware connections, power on the printer and attempt to print a test page.
- If the printer responds and prints successfully, the issue was most likely related to a loose or faulty connection.
- If the printer still doesn’t respond, there might be an underlying hardware or software problem that requires further investigation.
Remember, meticulously checking hardware connections is a fundamental step in troubleshooting Canon Maxify printer issues. By ensuring secure and reliable connections, you can eliminate potential causes of communication problems and enhance the overall performance of your printer.
Troubleshooting specific error messages
Welcome back, printing enthusiasts! Today, we’re tackling a common conundrum that Canon Maxify printer owners might encounter: the dreaded “not responding” issue. Don’t fret; we’ve got a troubleshooting guide that will have your printer humming along in no time.
Key Takeaways:
Faulty connections, software glitches, and paper jams can cause the “not responding” issue.
Begin by checking all connections, ensuring they’re snug and secure.
Update printer drivers and software to eliminate software-related glitches.
Identify and clear any paper jams, as they can obstruct the printer’s operation.
Utilize the printer’s control panel buttons to troubleshoot and reset the device.
For more complex issues, consider contacting Canon’s customer support for expert assistance.
Finding the Source of the Problem:
Before diving into solutions, let’s investigate potential causes:
Loose Connections: Ensure the power cord is firmly plugged into the printer and the power outlet. Check USB or network cables for proper connections.
Software Glitches: Outdated printer drivers or software can cause communication issues. Check for updates on the Canon website.
Paper Jams: Paper jams can halt printing processes. Open the printer and check for any obstructions in the paper path.
Printer Malfunctions: Sometimes, the printer itself may encounter internal issues. Try restarting the printer or resetting it using the control panel buttons.
Troubleshooting Steps:
Now, let’s tackle the solutions:
Restart the Printer: This simple step can often resolve minor glitches. Turn off the printer, wait a few seconds, and then turn it back on.
Check Connections: Ensure all cables are properly connected. If using a wireless connection, check for a stable Wi-Fi signal.
Update Software: Visit Canon’s website to download and install the latest printer drivers and software updates. These updates can fix bugs and improve printer performance.
Clear Paper Jams: If you encounter a paper jam, carefully remove the jammed paper without tearing it. Ensure the paper tray is properly loaded with flat, unwrinkled sheets.
Reset the Printer: Refer to your printer manual for instructions on how to reset the device using the control panel buttons. This can often resolve persistent issues.
Contact Canon Support: If you’ve tried all the above steps and the issue persists, it’s time to call in the experts. Canon’s customer support team is equipped to handle more complex problems and provide tailored solutions.
Remember, these steps apply to most Canon Maxify printer models. If you have a specific model, consult the user manual for model-specific troubleshooting instructions.

FAQ
Q1: Why is my Canon Maxify printer not responding to print commands?
A1: The Canon Maxify printer might not respond due to various reasons, including network connectivity issues, outdated printer drivers, printer spooler problems, or a hardware malfunction. To resolve this issue, check your network connection, update drivers, troubleshoot the printer spooler, and consider hardware repairs if necessary.
Q2: How can I fix the “Canon Maxify Printer Not Responding” error on my computer?
A2: To resolve the “Canon Maxify Printer Not Responding” error on your computer, try restarting the printer, checking for firmware updates, uninstalling and reinstalling the printer drivers, or running the Printer Troubleshooter tool available in Windows. Additionally, ensure that the printer is properly connected to your computer and network.
Q3: What should I do if my Canon Maxify printer is not responding to the control panel buttons?
A3: If your Canon Maxify printer is not responding to the control panel buttons, restart the printer, check for any physical obstructions or debris interfering with button functionality, or try cleaning the control panel buttons with a soft, dry cloth. If the issue persists, consider contacting Canon customer support for further assistance.
Q4: How do I troubleshoot network connectivity issues that may be causing my Canon Maxify printer to be unresponsive?
A4: To troubleshoot network connectivity issues that may be causing your Canon Maxify printer to be unresponsive, check the physical network connection (cables or Wi-Fi), ensure that your router is functioning properly, update the router’s firmware, or try connecting the printer directly to your computer using a USB cable to eliminate network-related issues.
Q5: What are some additional tips for preventing the “Canon Maxify Printer Not Responding” issue?
A5: To prevent the “Canon Maxify Printer Not Responding” issue, keep your printer drivers up to date, regularly clean the printer and its components, use genuine Canon ink cartridges, avoid overloading the printer with print jobs, and ensure that your computer and network are functioning properly. Additionally, consider using a surge protector to protect the printer from power fluctuations.
